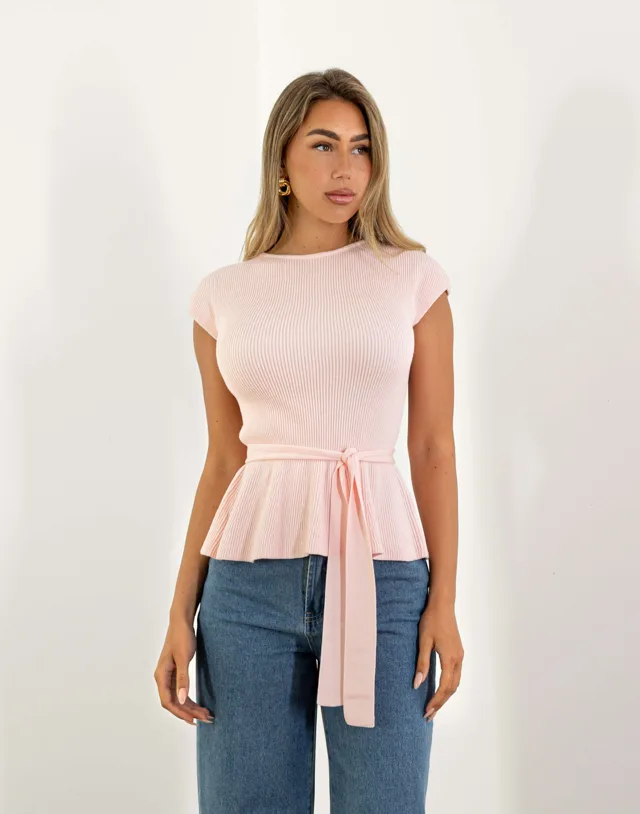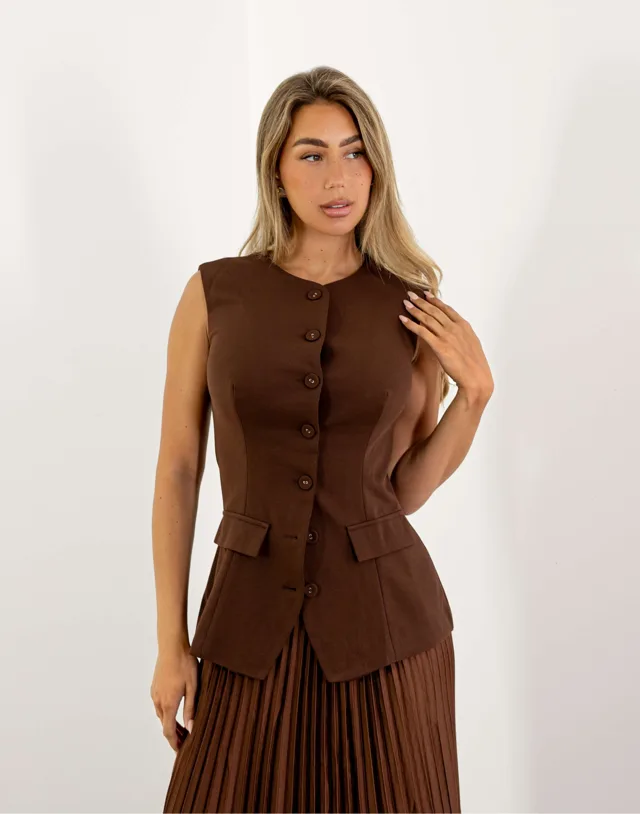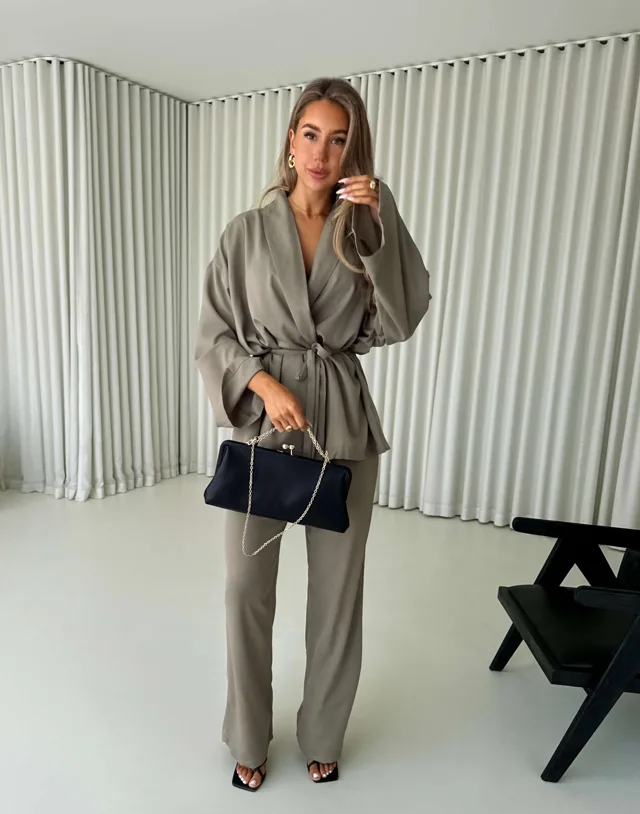
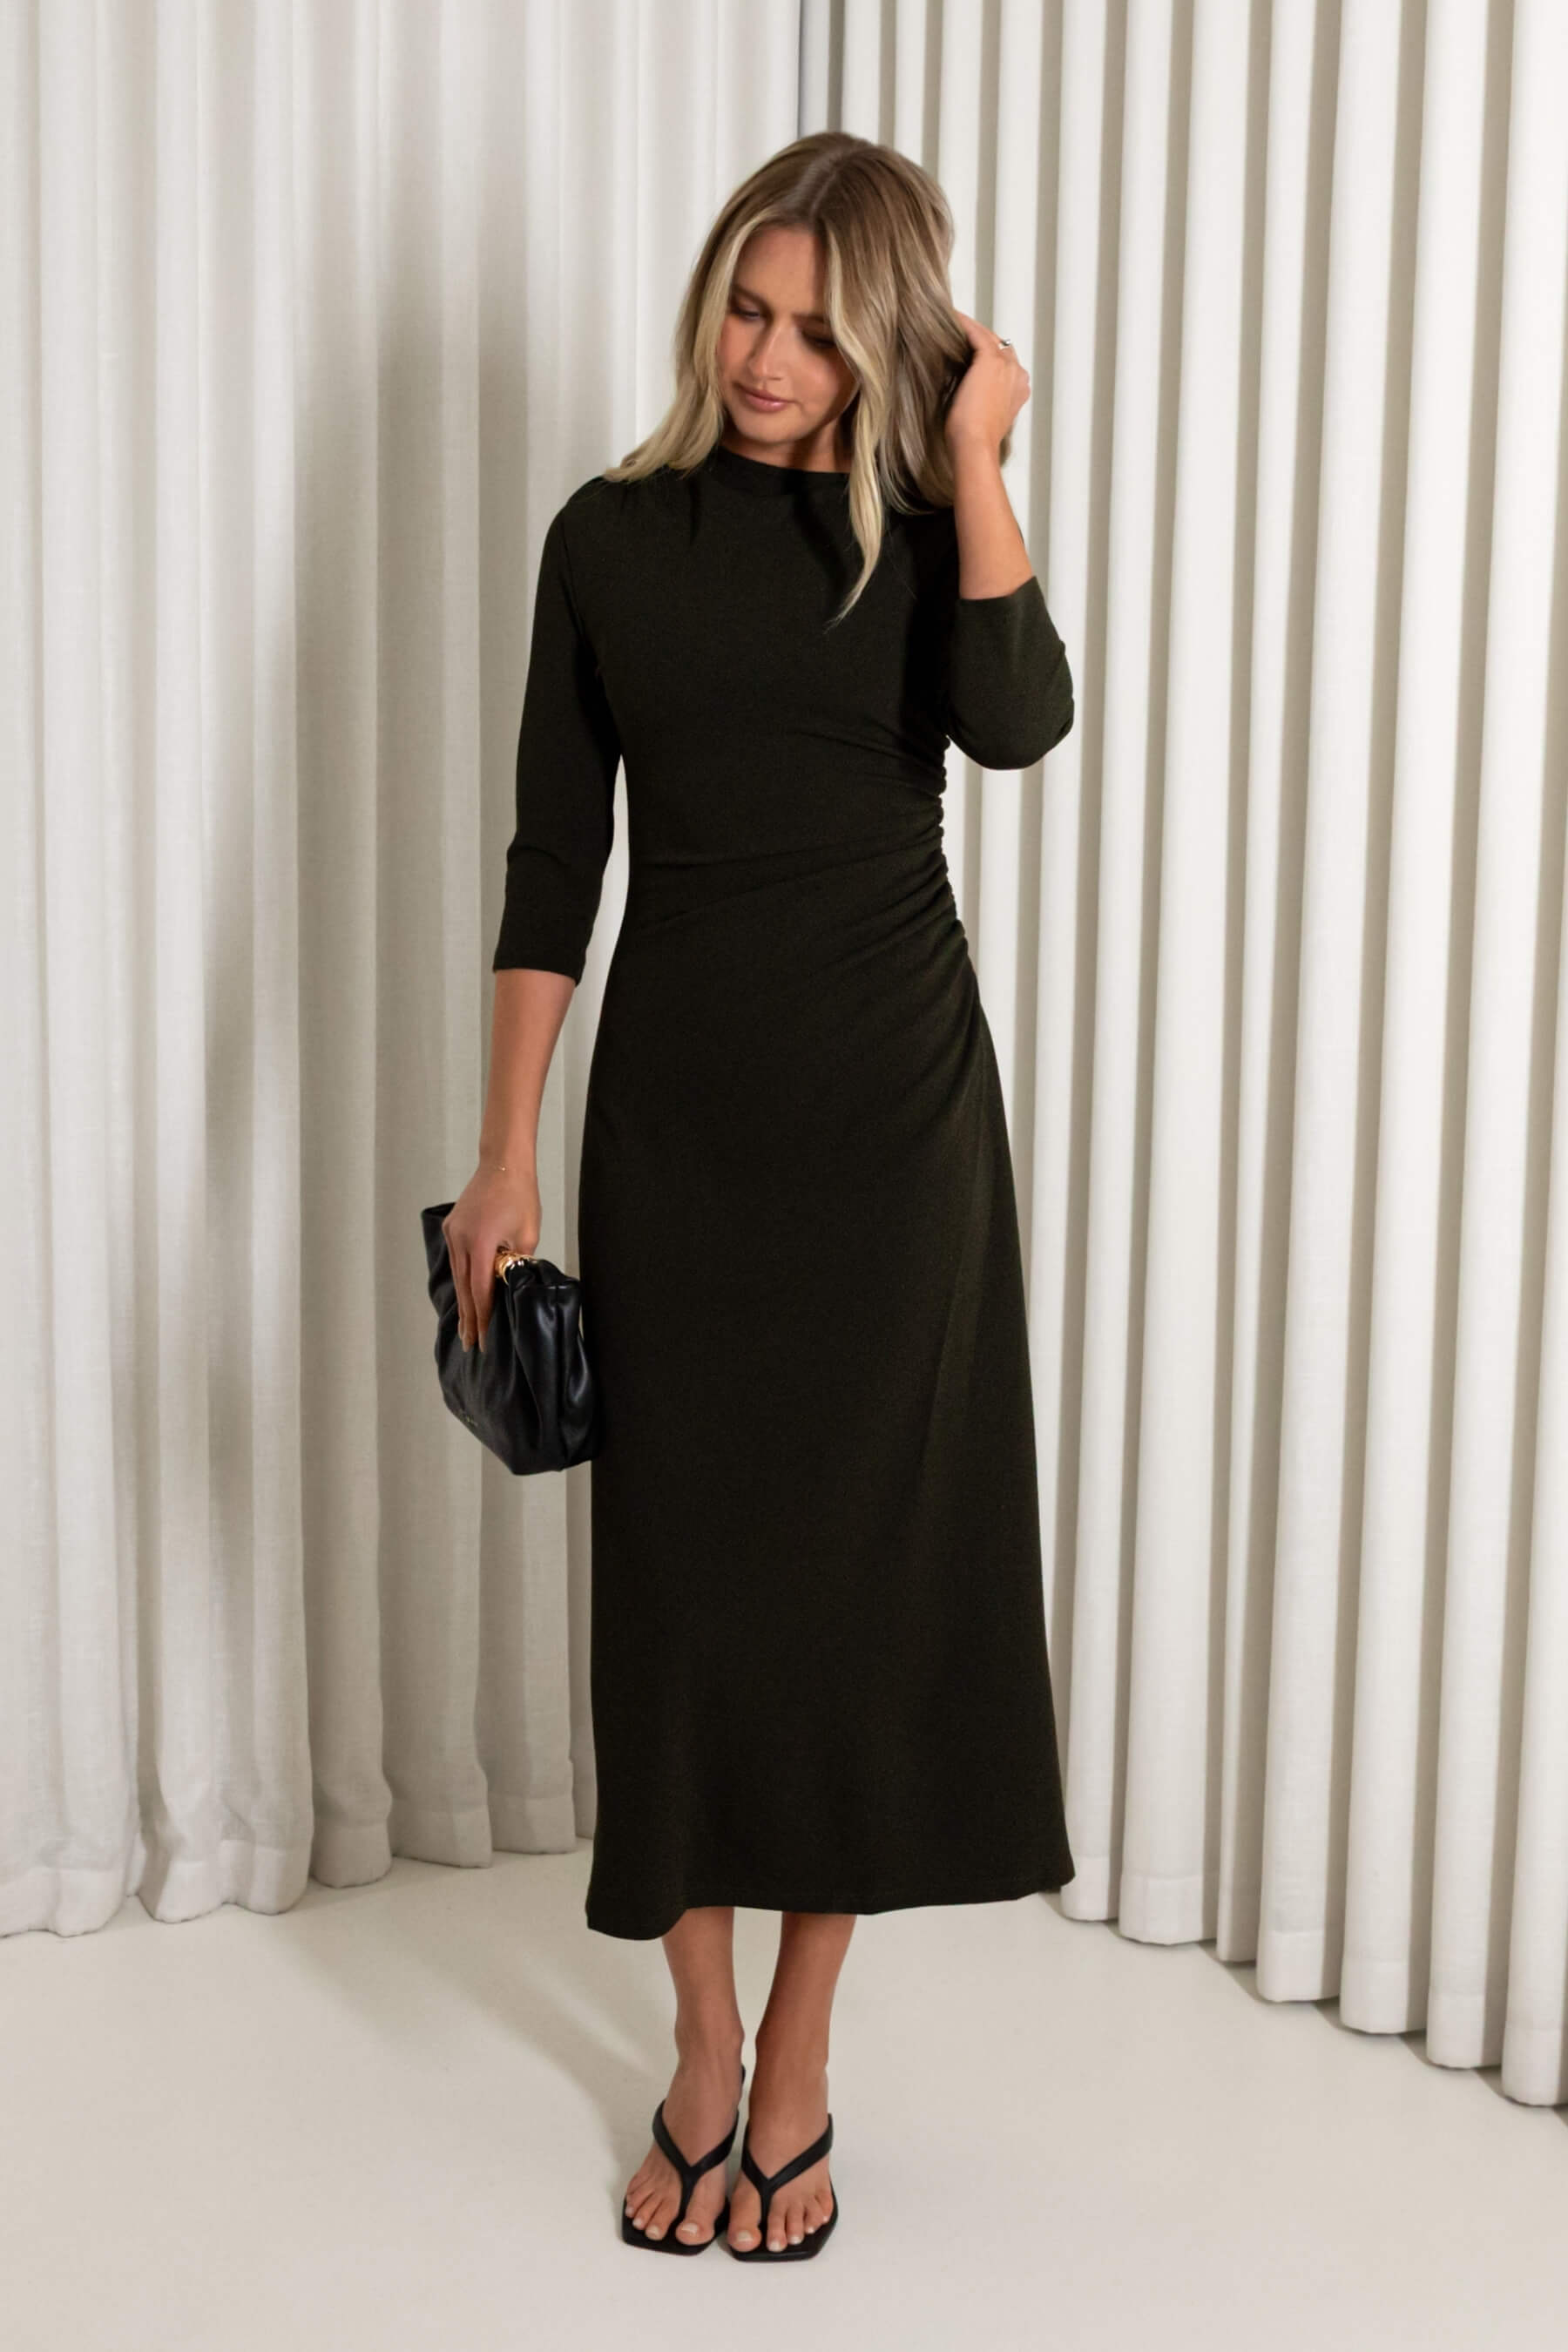
Good boutique product photography is less about elaborate equipment than clear decisions made before the first frame. Shoppers need to understand a garment’s color, shape, details, and styling potential; the boutique needs images that feel consistent across a collection. A repeatable process can make both goals easier to manage, whether you are photographing one new arrival or preparing a full product drop.
Use this checklist as a flexible workflow, not a rigid formula. Your setup can be simple, and the exact shots will vary with the garment. What matters is that the images are honest, readable, and useful for someone deciding whether a piece belongs in her wardrobe.
1. Decide what each image needs to answer
Before setting up, write down the questions a shopper might have. What does the front look like? How does the garment fall from shoulder to hem? Where are its defining details? What does the back look like? If a sleeve, neckline, closure, or hem is an important part of the design, plan a close view that makes it easy to see.
Make a shot list that suits the item instead of photographing every product in exactly the same way. A printed dress may benefit from a full-length front view and a closer image that makes its pattern easier to read. A distinctive neckline might call for a detail shot. For examples of how different silhouettes change the plan, compare the Hathaway Floral Dress, Thompson Dress, and Holt Midi Dress.
A useful baseline often includes a clear front view, a back view, a detail image, and a styled image if it adds information. Add a side angle or another close-up when the garment has features that a straight-on frame cannot explain. Every image should contribute something new rather than repeat the same view.
2. Prepare the garment and the shooting space
Inspect the piece before it goes in front of the camera. Check that it is clean, properly fastened, and presented as intended. Smooth wrinkles carefully, following the garment’s care information. Heat-sensitive or delicate fabric may need a gentler approach than a sturdy woven; do not assume that a steamer or iron is right for every item. If a crease remains, consider whether it can be improved safely before photographing.
Choose a tidy, uncluttered background and clear distractions from the frame. A simple wall or plain backdrop can help the garment remain the focus. Check that the hanger, mannequin, or model is positioned consistently, and remove loose tags or stray threads if appropriate. Keep a lint roller and clips nearby, but use clips only where they will not distort the visible shape or suggest an inaccurate fit.
Take a quick test frame and inspect it at full size. Look for background clutter, crooked hems, twisted straps, and fabric that has shifted. Fix small presentation issues now rather than trying to correct every problem later in editing.
3. Make light and color dependable
Soft, even light usually makes it easier to see both a garment and its details. A window with indirect daylight can be a practical starting point. If you use lamps, aim for a consistent setup and watch for hard shadows or mixed light that gives one side of the garment a different color. Keep the light source and camera position steady through a product’s full set.
Color deserves particular attention. A screen cannot guarantee that every shopper will see an identical shade, but your photography should avoid avoidable shifts. Photograph a neutral reference during setup if it helps you check the image while editing, then keep adjustments restrained. Do not brighten a dark garment until its texture disappears or push saturation so far that the color no longer looks believable.
Review one image beside the garment under the same general lighting before moving on. If the photograph looks noticeably warmer, cooler, or more saturated than the item, adjust the setup or editing approach and retest. Consistent color across a listing is more helpful than a dramatic look that changes from frame to frame.
4. Check proportions, pose, and styling
Show the garment in a way that makes its proportions understandable. Keep the camera level and avoid angles that make the shoulders, waist, or hem look unusually wide or narrow. Leave enough space around the full silhouette so the garment is not cropped accidentally. For a long dress, include the whole hem; for a shorter piece, make sure the frame still communicates its length and overall shape.
If photographing on a model, choose a natural pose that allows the item to hang clearly. Arms can be held slightly away from the body when they would otherwise cover a sleeve or waist detail. A gentle turn can help show a side seam or drape, but avoid a pose that hides the garment’s construction. If using a mannequin or hanger, check that the piece is centered and balanced rather than tugged into an artificial silhouette.
Styling should support the product, not compete with it. Keep accessories simple when a print, neckline, or sleeve is already a focal point. A light layer can suggest how a dress might work across changing temperatures, but photograph the garment on its own as well if the layer conceals key details. If you style a printed dress with a solid jacket or neutral shoes, make sure the added pieces help explain an outfit idea without changing the apparent color or shape of the featured item.
5. Capture useful views and details
Work through the shot list in a repeatable order: front, back, side or alternate angle, then details. This helps reduce missed views and makes it simpler to compare products later. A close-up should be sharp and intentional. Show a relevant feature such as a neckline, print, sleeve finish, closure, or hem rather than an arbitrary patch of fabric.
For a listing that includes several colors or sizes, keep the presentation consistent while checking that each image represents the correct option. Photograph color variations under the same lighting and with similar framing. Do not rely on a single generic image if it could leave a shopper uncertain about which version is shown. For a broader overview of the assortment, the Dresses collection can help connect an individual product image to the wider category.
Include a styled frame only when it adds a useful idea: a jacket over a sleeveless silhouette, a simple belt where appropriate, or understated jewelry beside a clean neckline. Keep the styling flexible and avoid implying that extras are included with the featured garment. The main product should remain easy to identify at a glance.
6. Edit carefully and review the listing
Crop and straighten images consistently, and remove only distractions that do not belong to the product or its presentation. Avoid editing away a real design feature or changing the fabric’s appearance. If you adjust exposure, contrast, or color, apply a coherent approach across the set and compare the result with the garment where possible.
Before upload, use a product listing checklist: confirm the first image is clear at thumbnail size; verify the front and back are included when useful; check that details are in focus; and make sure no frame cuts off a sleeve, neckline, or hem unintentionally. Review the sequence on both a larger screen and a phone-sized view. Small details that appear obvious at full size may disappear in a thumbnail, while overly tight crops can make the silhouette difficult to understand.
Check image names and listing options, too. Match photographs to the correct product and color, and ensure the selected image order tells a sensible visual story. Product photography can support accurate shopping, but it cannot replace clear written information. Pair the images with thoughtful descriptions and direct shoppers to the size guide when they need help reviewing sizing information.
7. Use a flexible process you can repeat
After each session, note what worked: the background, light position, camera distance, and any garment-specific preparation. Keep a short checklist near the shooting area, but leave room to adapt it. A delicate fabric, a bold print, and a structured silhouette may need different handling or extra views. The goal is a dependable baseline, not identical photographs for pieces that have different stories to tell.
When time is limited, prioritize accuracy and clarity over extra styling. A clean front image, a helpful view of the back, and a sharp detail photograph can communicate more than a large set of near-duplicates. Review the finished listing as a shopper would: can she recognize the garment, understand its visible features, and tell which image belongs to the option she is considering? If so, your retail photography is doing its practical job.
Find a piece to make it your own.
Explore the current collection and ask us about the fit, details or availability of any style.
Explore Dresses